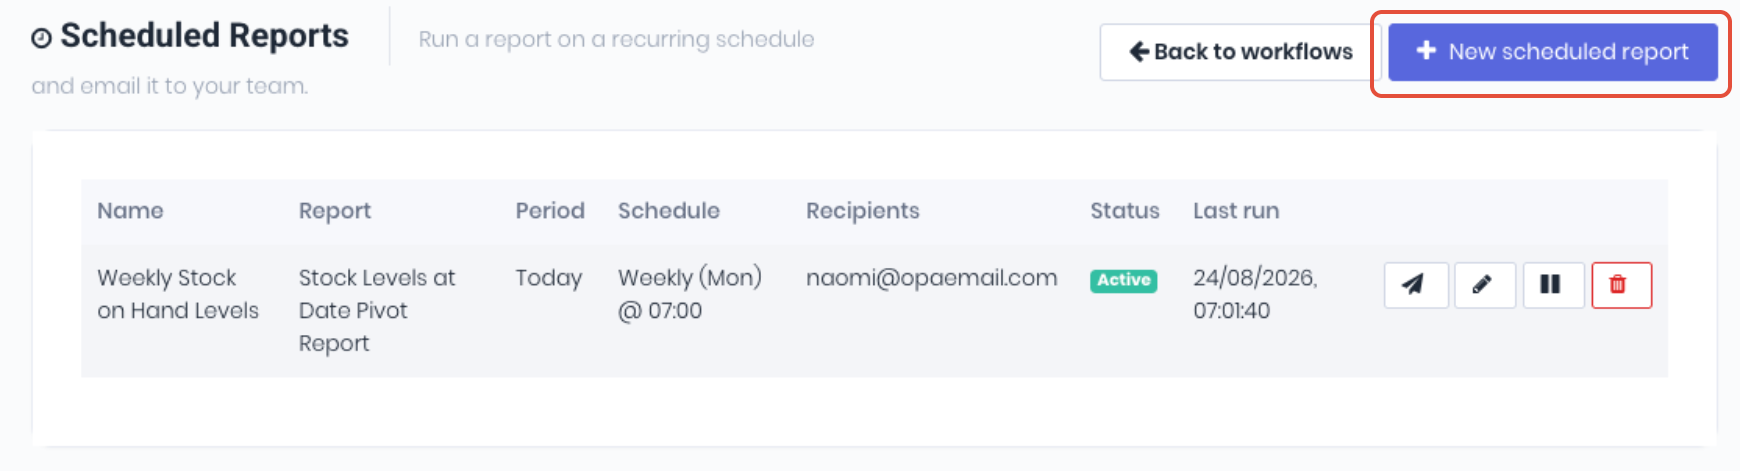
To add a new scheduled report, click the New Scheduled Report button on the scheduled reports dashboard.
From the new scheduled report popup, fill out the fields:
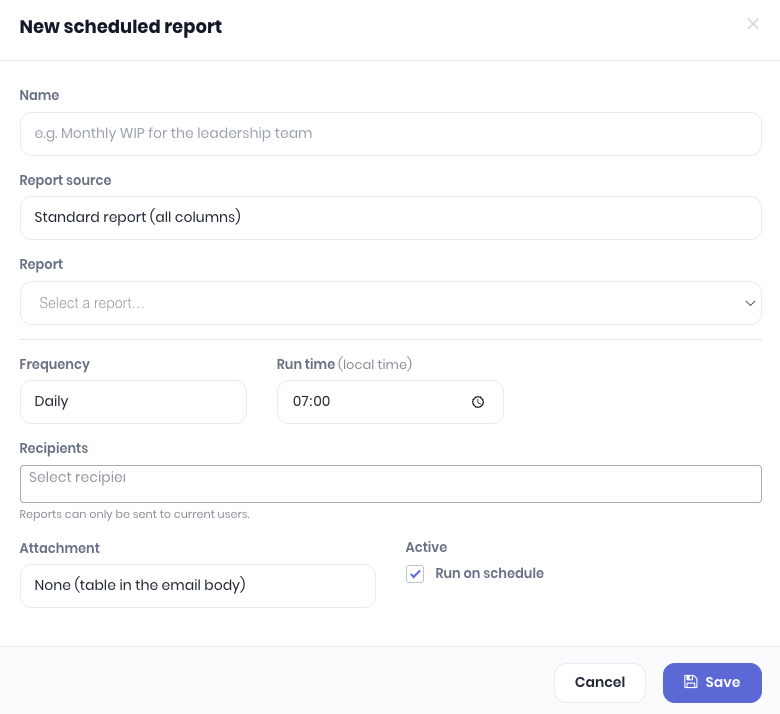
- Name - Name the scheduled reports.
- Report Source- Select which type report to schedule.
- Standard Report (all columns) - Select a report from the standard Report list. Standard reports will send the the report's default fields when scheduled and run.
- Saved Report (its selected fields) - Select a custom report. Saved reports will send the fields as per the customisation when scheduled and run.
- Report - Search or scroll the list to select the standard or saved report to schedule from the dropdown.
- Report Filters - Depending on what report is selected, you will be prompted to select the relevant report filters. Every report filter will have a Period filter (timeframe of the report data) and the remainder of the available filters are contextual to the selected source report, not the schedule.
- Frequency- Schedule the report to send:
- Daily - Select Run time in the tenant's default timezone
- Weekly - Select the Day of the Week and Run time in the tenant's default timezone
- Monthly - Select the Day of Month and Run time in the tenant's default timezone
- Recipients - Select the report's recipients from the dropdown. You can select multiple uses as required. Note: Reports can only be sent to current users.
- Attachment - Select if you would like the report as an email attachment
- None - Report is sent as part of the email message body text (no attachment).
- CSV - Attached csv file of the report data.
- Excel - Attached .xlsx file of the formatted report data.
- Active - Select if you want to activate the new scheduled report immediately on save.
Click Save to create the scheduled report.
Was this article helpful?
That’s Great!
Thank you for your feedback
Sorry! We couldn't be helpful
Thank you for your feedback
Feedback sent
We appreciate your effort and will try to fix the article