The Automation Library is where you find and install ready-made workflows ready to install and run build your workflows quickly.
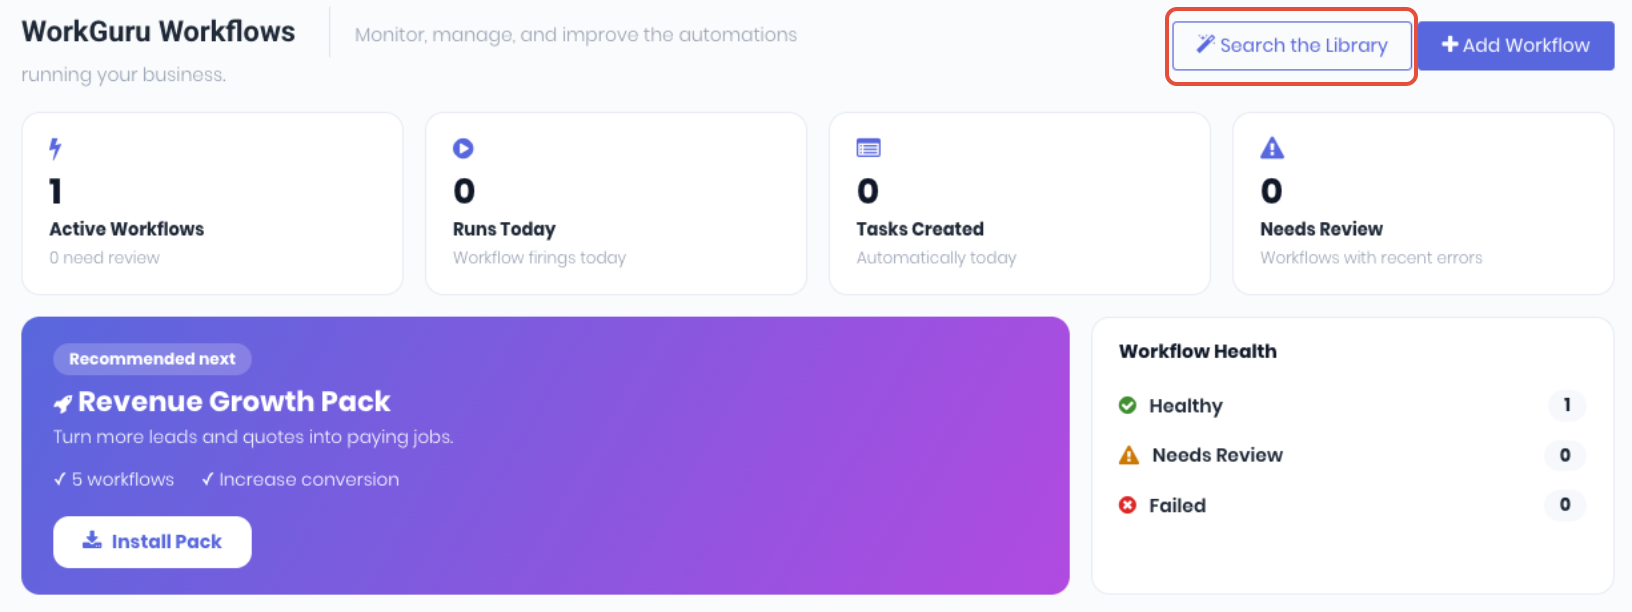
To install an automation, click Search the Library from the workflows dashboard.
After you install a workflow selection or pack, you'll see the following confirmation message:
"5 automations added as drafts. Find them under Workflows (Inactive) to review and activate."
The Library knows what you already have installed so If you've installed some of them before, those are skipped rather than duplicated. Importing the same template again won't create a duplicate; WorkGuru recognises it and skips it, even if you've since renamed your copy. The Starter Pack banner also switches to "installed", and the "recommended next pack" moves on to the next collection.
Installing Automations from the Library
There are two ways to install automations from the library:
Individual Automations
On an automation's pane, click the checkboxes on the relevant automations you would like to install, OR click Add to Selection from the Preview pane.
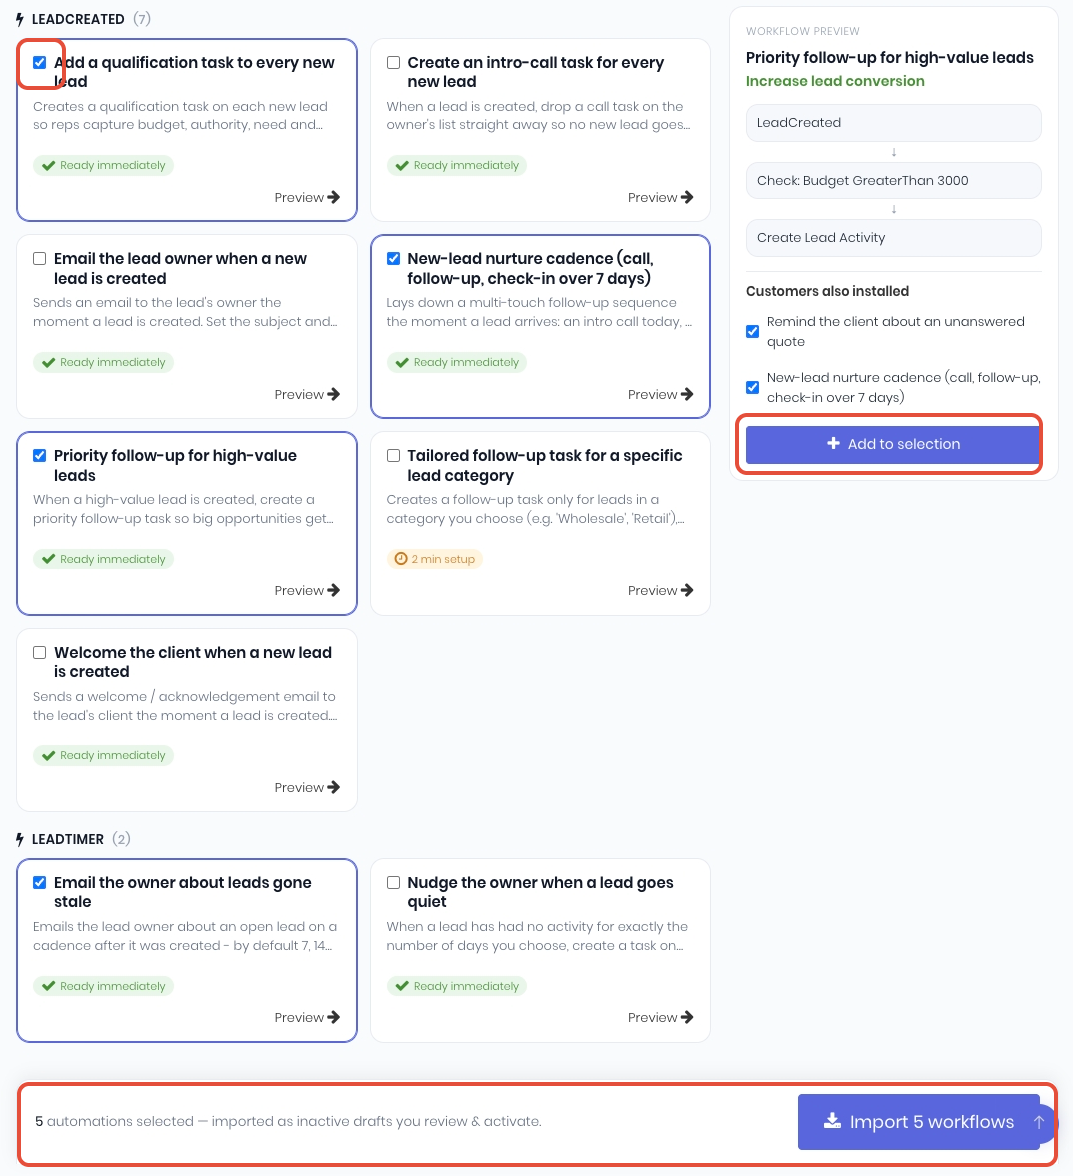
The selected automations will be added to the added to the footer to keep a running tally of what you've selected. When you've completed your selections, click Import Workflows. Recommended automations can also be installed directly by clicking Install.

Automations Collections/Packs
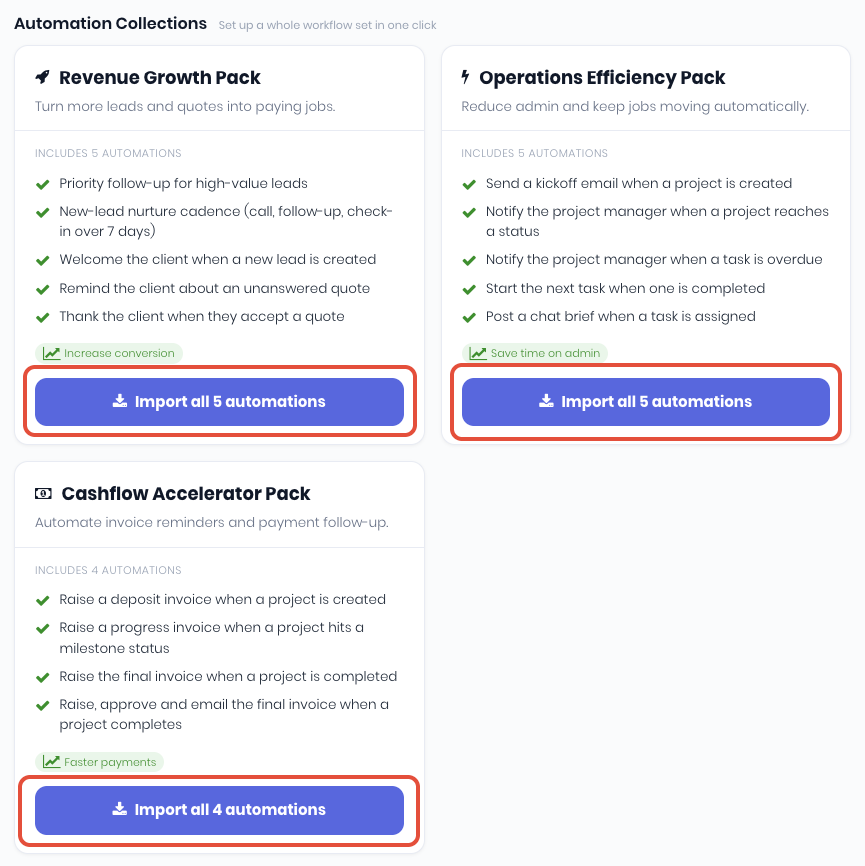
Click Import all automations on the relevant pack card. This installs every template in that pack at once.
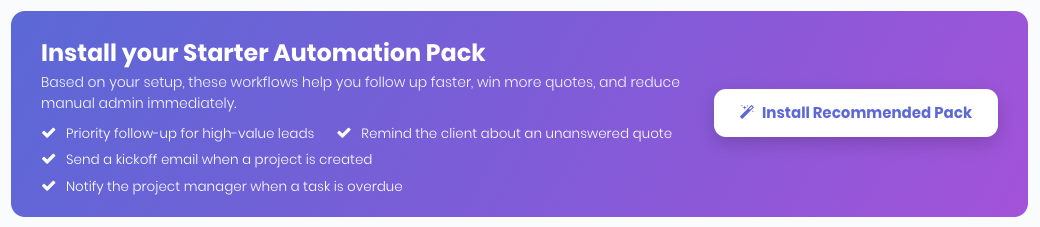
Recommended Packs, such as the start automation pack, can also be imported directly from their respective banners on the automation library:
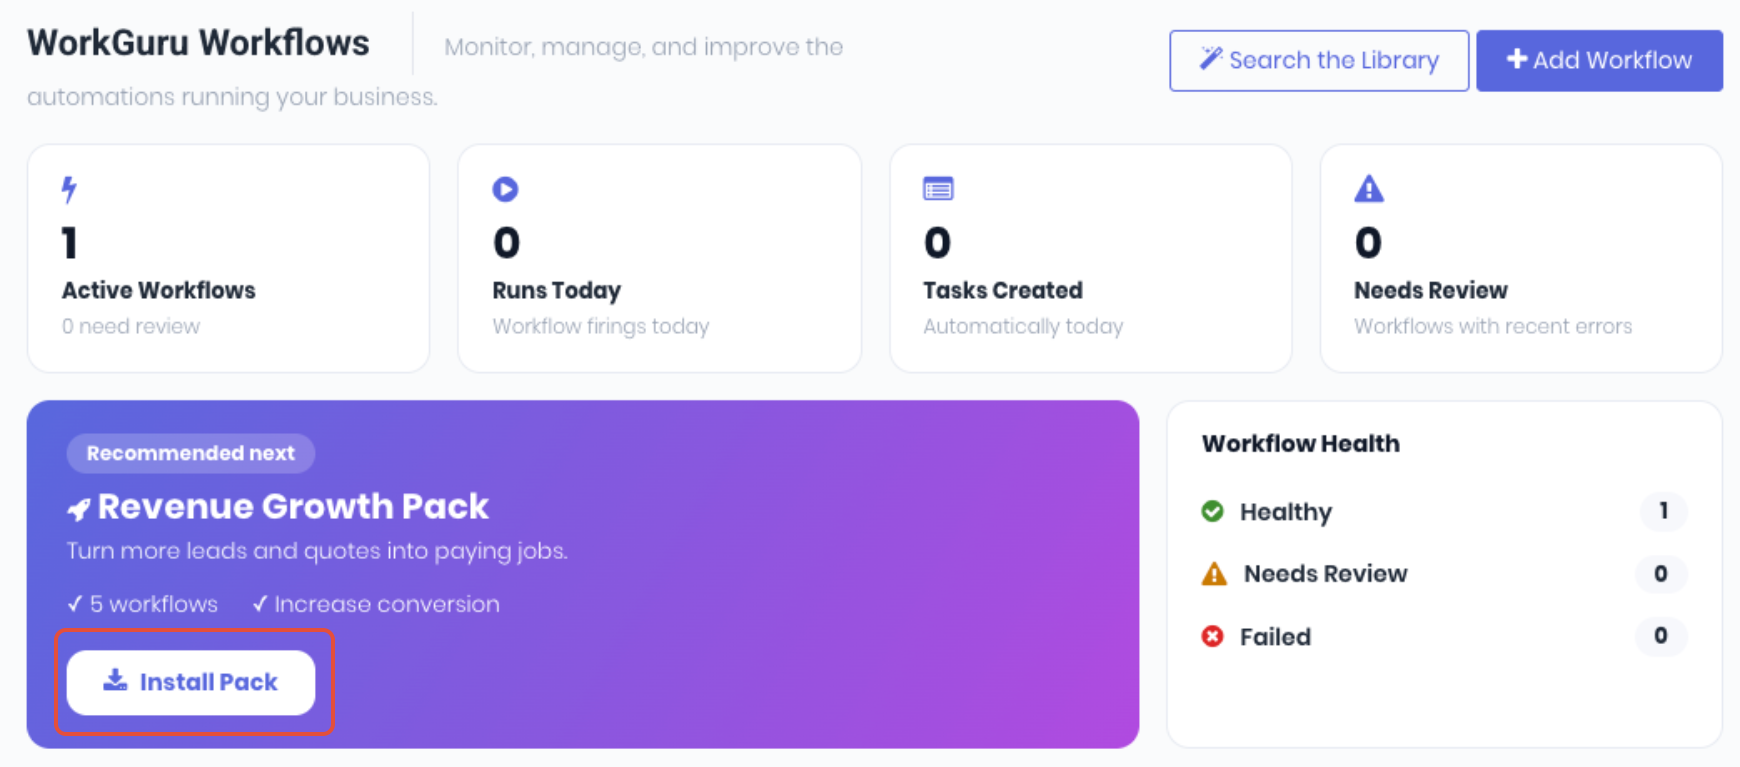
Or directly from the workflows dashboard:
Activating Installed Workflows
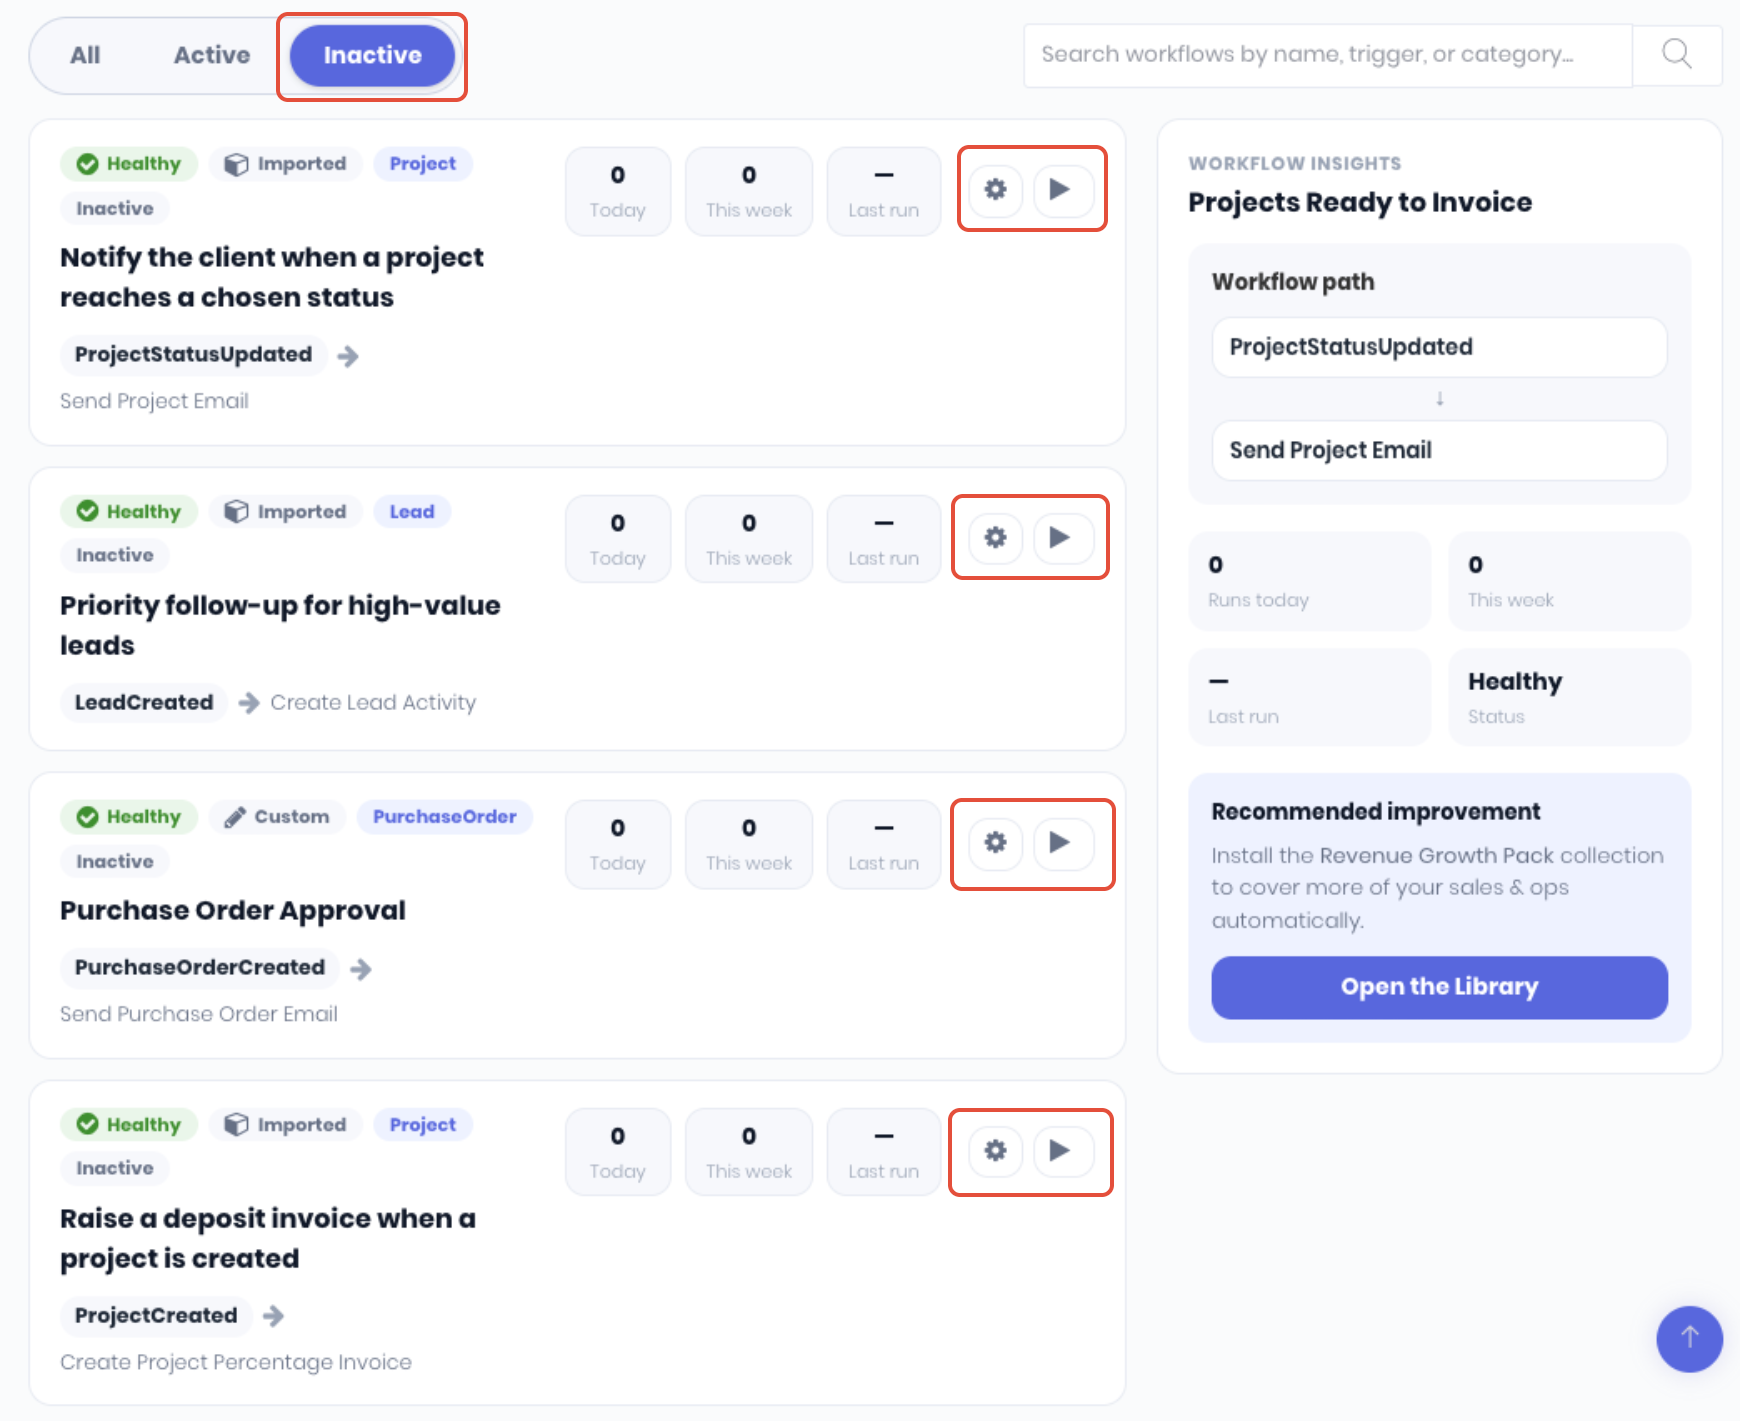
All newly installed automations default to Inactive Drafts. They won't run until you finish setting them up and activate them. To finalise the installed automations:
- Identify - In the workflows dashboard, view the Inactive list to find the newly imported automations.
- Update - Most automations need a few details only you can provide: a recipient, a project status, an email subject and message. Click the Gog icon to edit and fill in any required fields as needed.
- Activate - Once everything required is updated, you switch the workflow on by clicking the Play icon. From that point it runs automatically.
Was this article helpful?
That’s Great!
Thank you for your feedback
Sorry! We couldn't be helpful
Thank you for your feedback
Feedback sent
We appreciate your effort and will try to fix the article