Daily timesheets can be entered in the Kiosk via the following methods:
Once timesheets have been added by either method, they can be reviewed from the Kiosk Timesheets page.
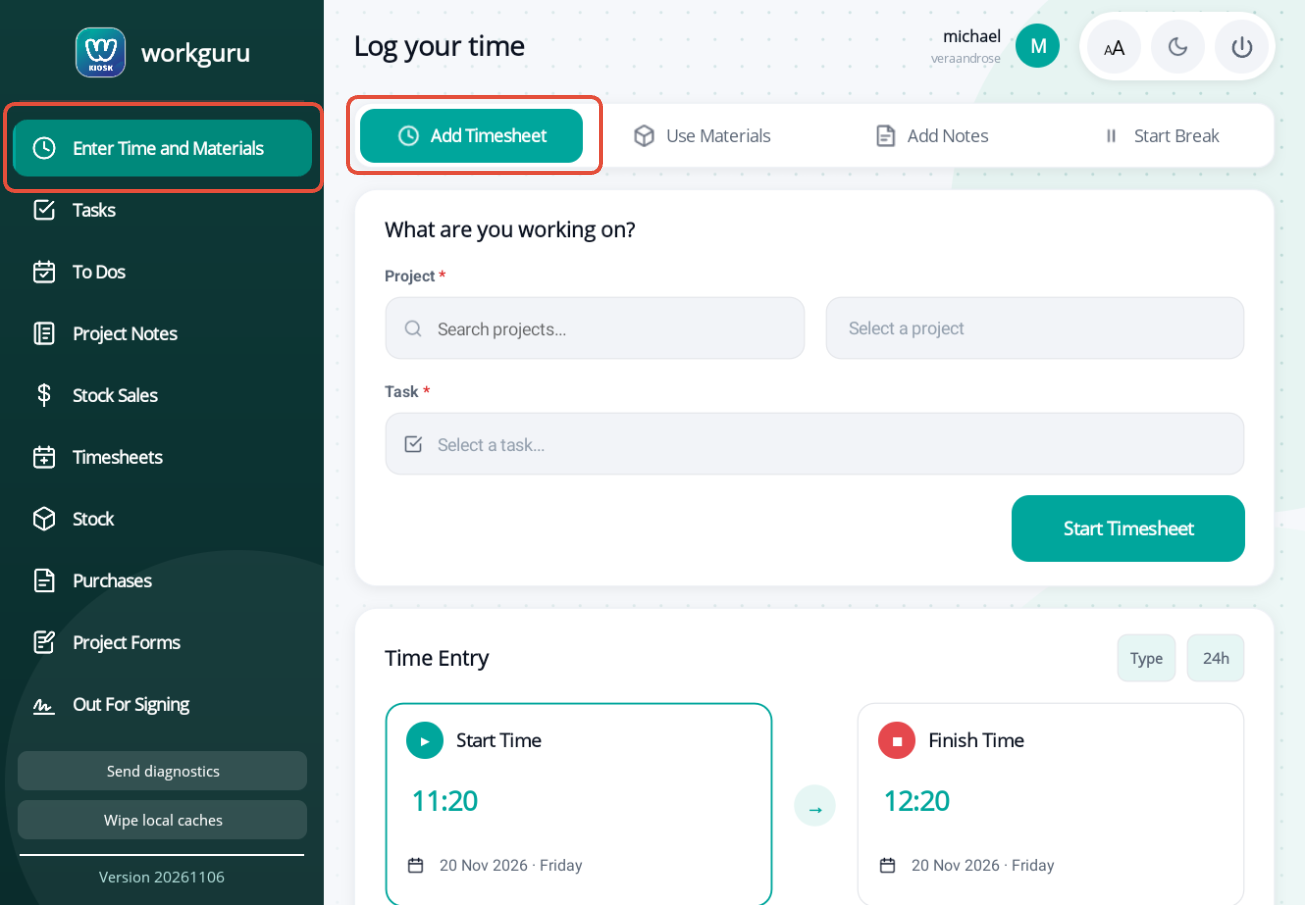 Timer
The easiest way to enter time via the kiosk is to start and stop your timesheet in real time as you are completing project or production tasks with minimal data entry. Note: You can only have one active timer per user at a time. Tap Search or Select a Project to select the required Project, tap Select a Task to choose from the Project's available tasks and then tap Start Timesheet. 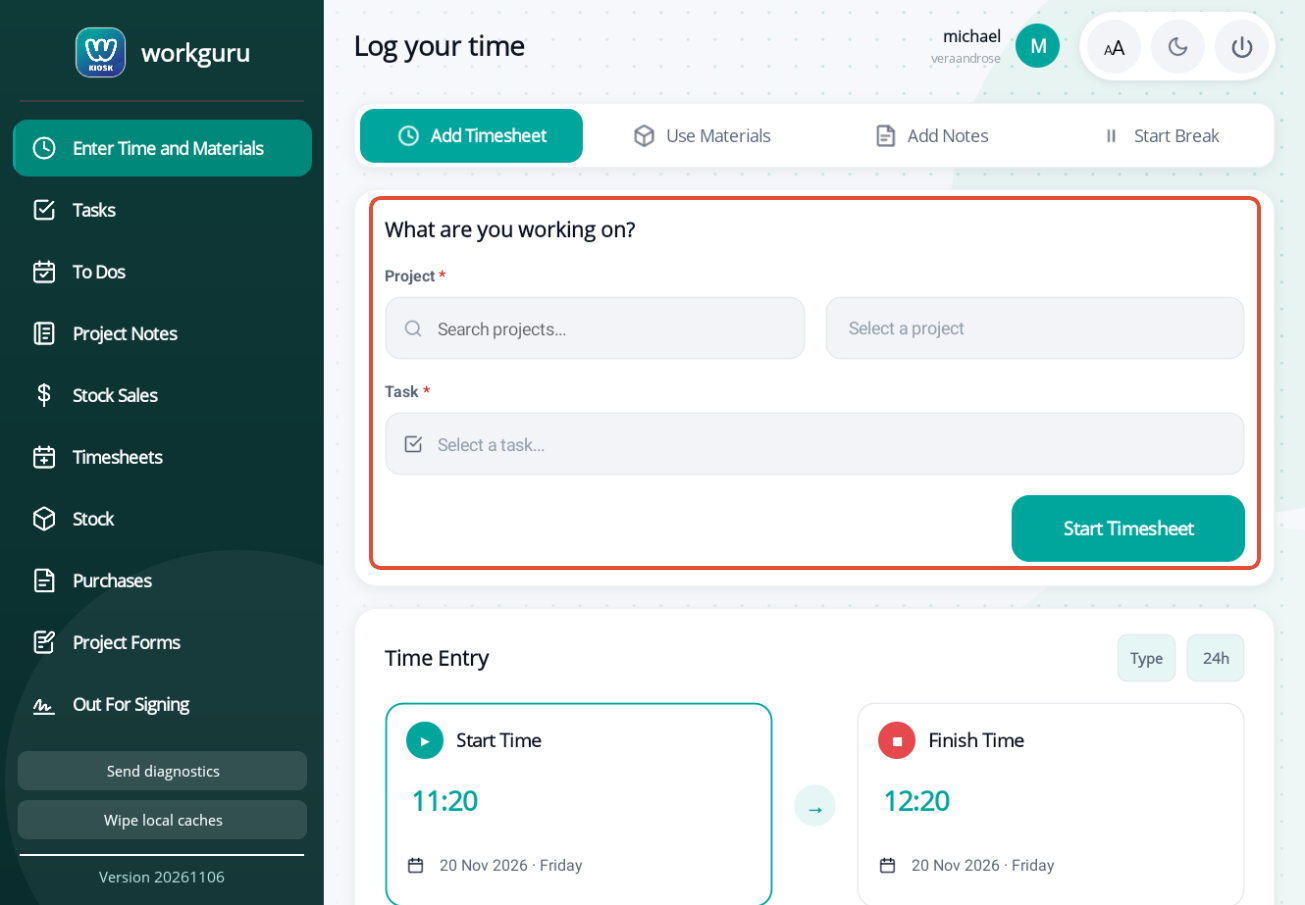
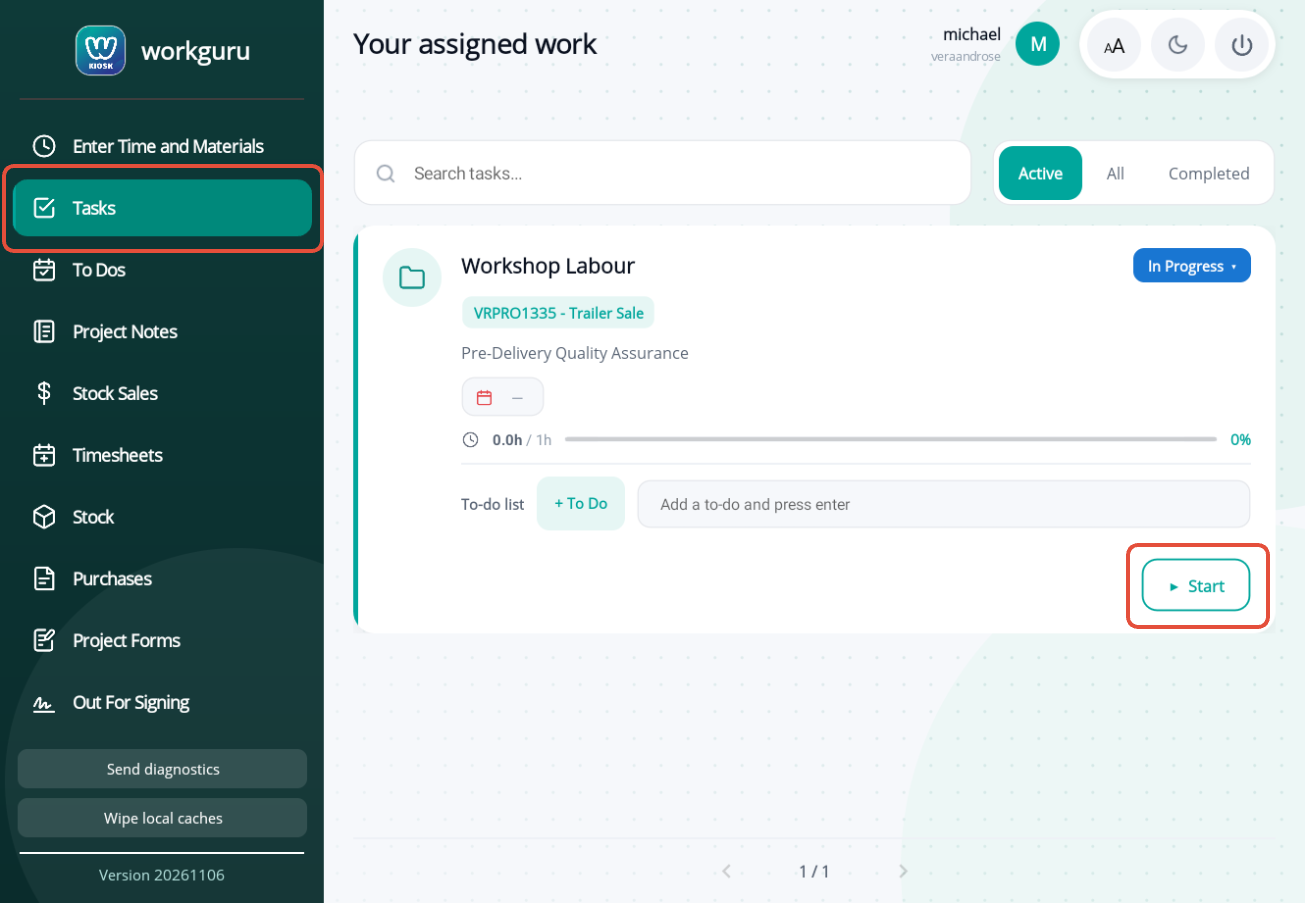
You can also quickly start a timer from the Tasks page by tapping on the Start shortcut on the relevant page.
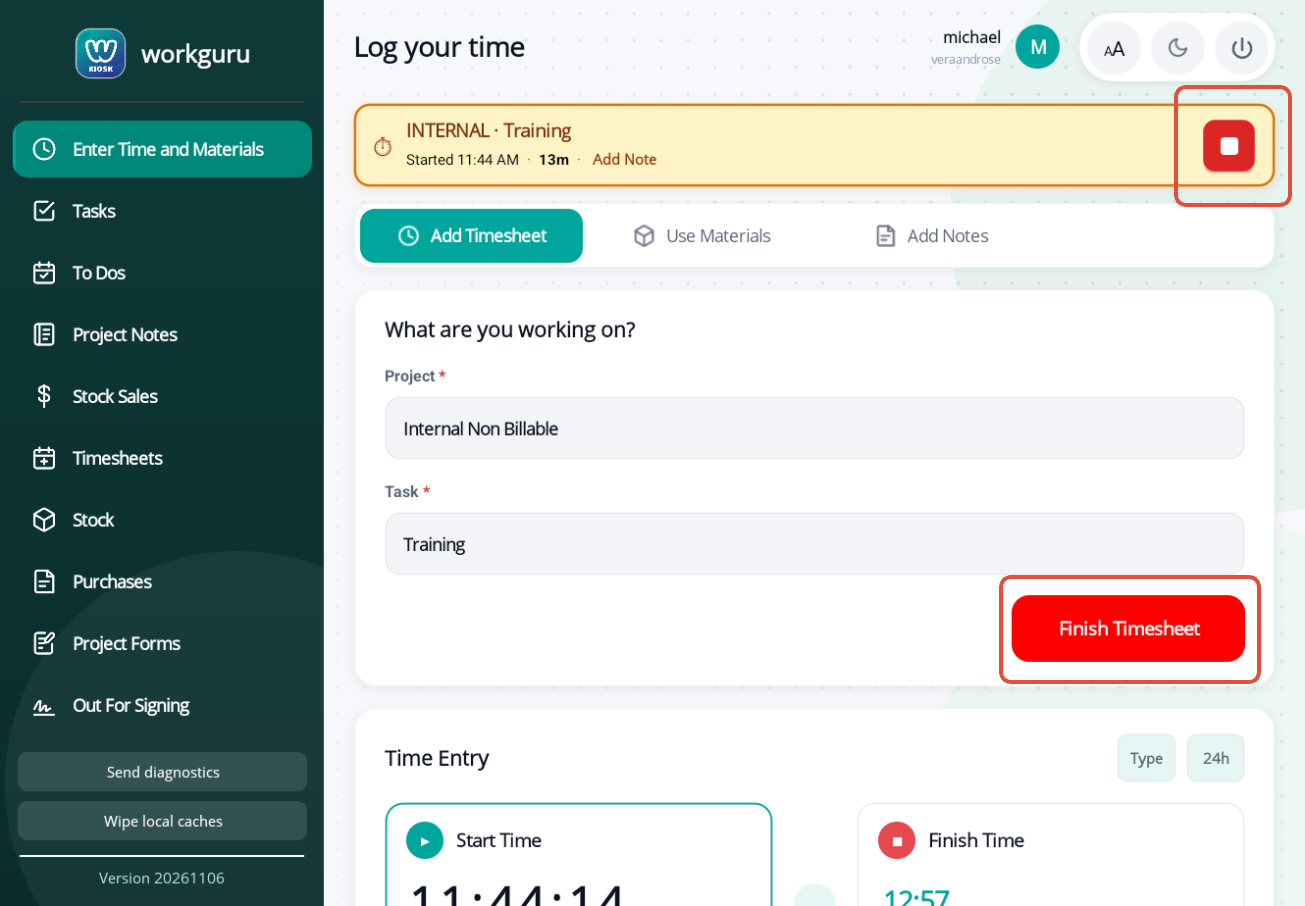
The active timer will display in a banner to confirm it has started. This banner is displayed on every page in the kiosk when a timer is active. You can tap Add Note while the timer is active to add timesheet notes during the shift.
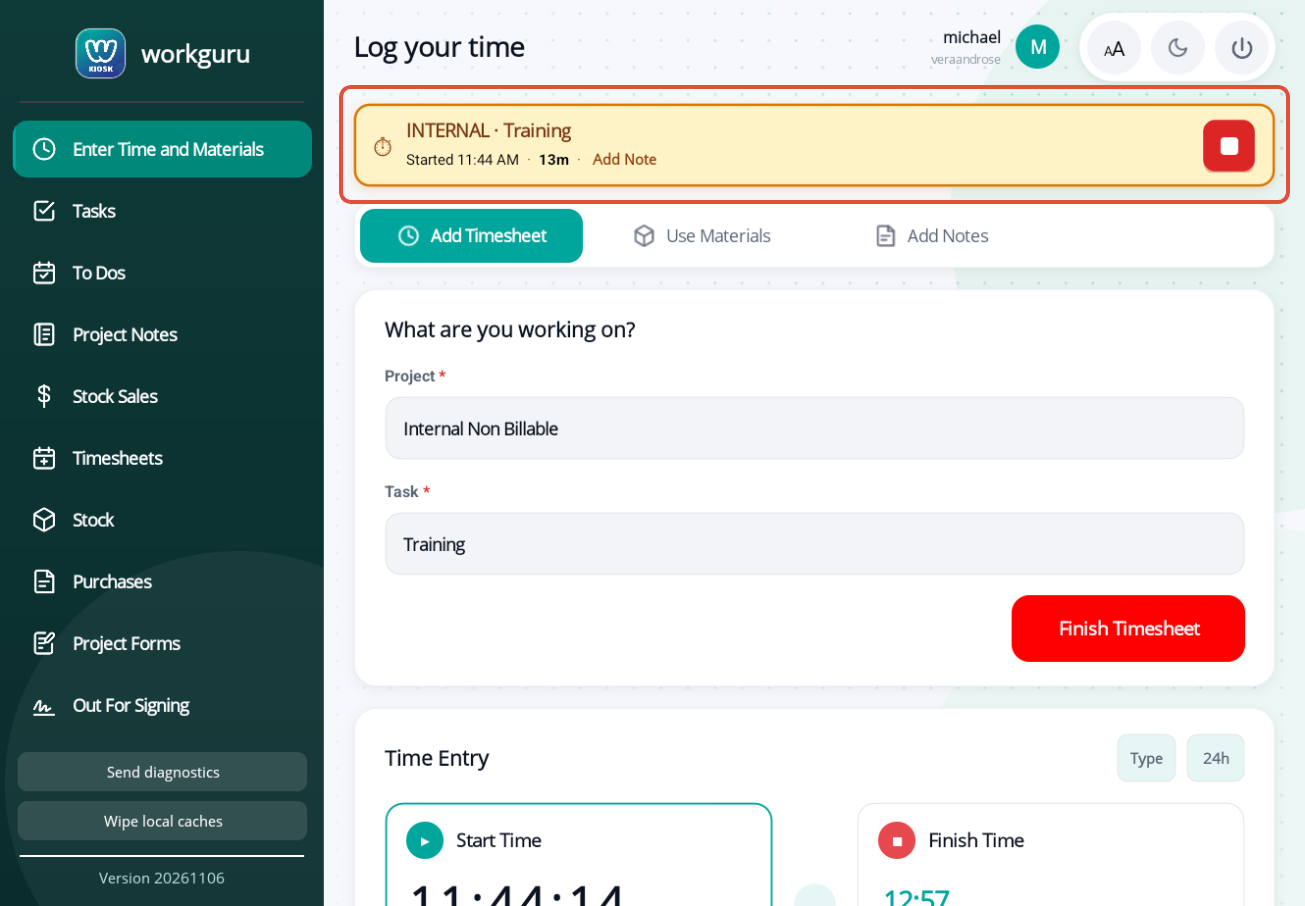 When you have finished that task, log back into the kiosk. Stop the active timer from either the Stop icon in the timer banner or tap Finish Timesheet.
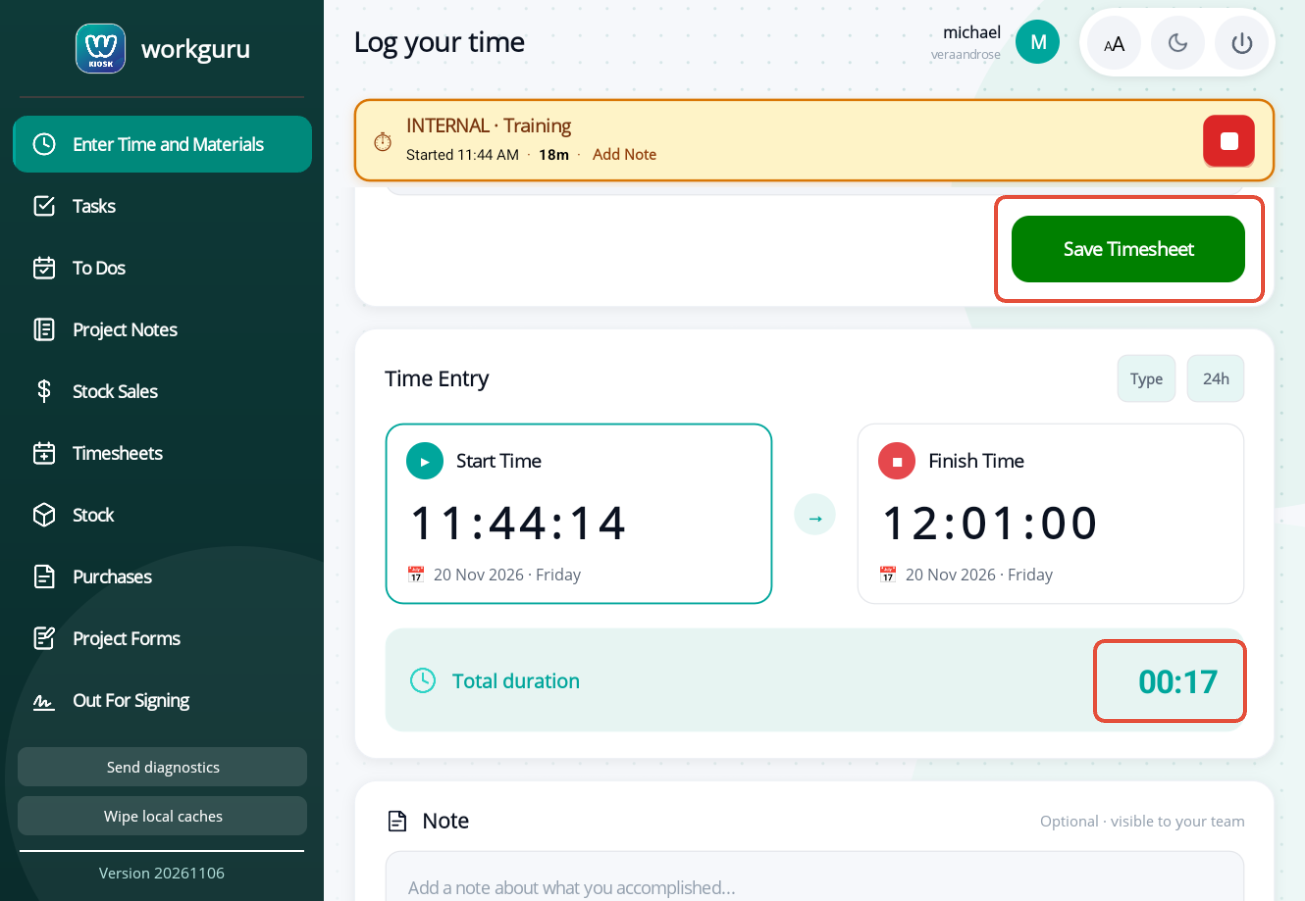
Confirm the Start Time and Finish Time, Total Duration and enter a Note if if required. Tap Save Timesheet to log the timesheet.
Duration
You can also enter your timesheet directly by manually entering the start and finish times of the duration of the timesheet. Instead of starting a timer, this allows you to retrospectively enter timesheets.
What are you working on?
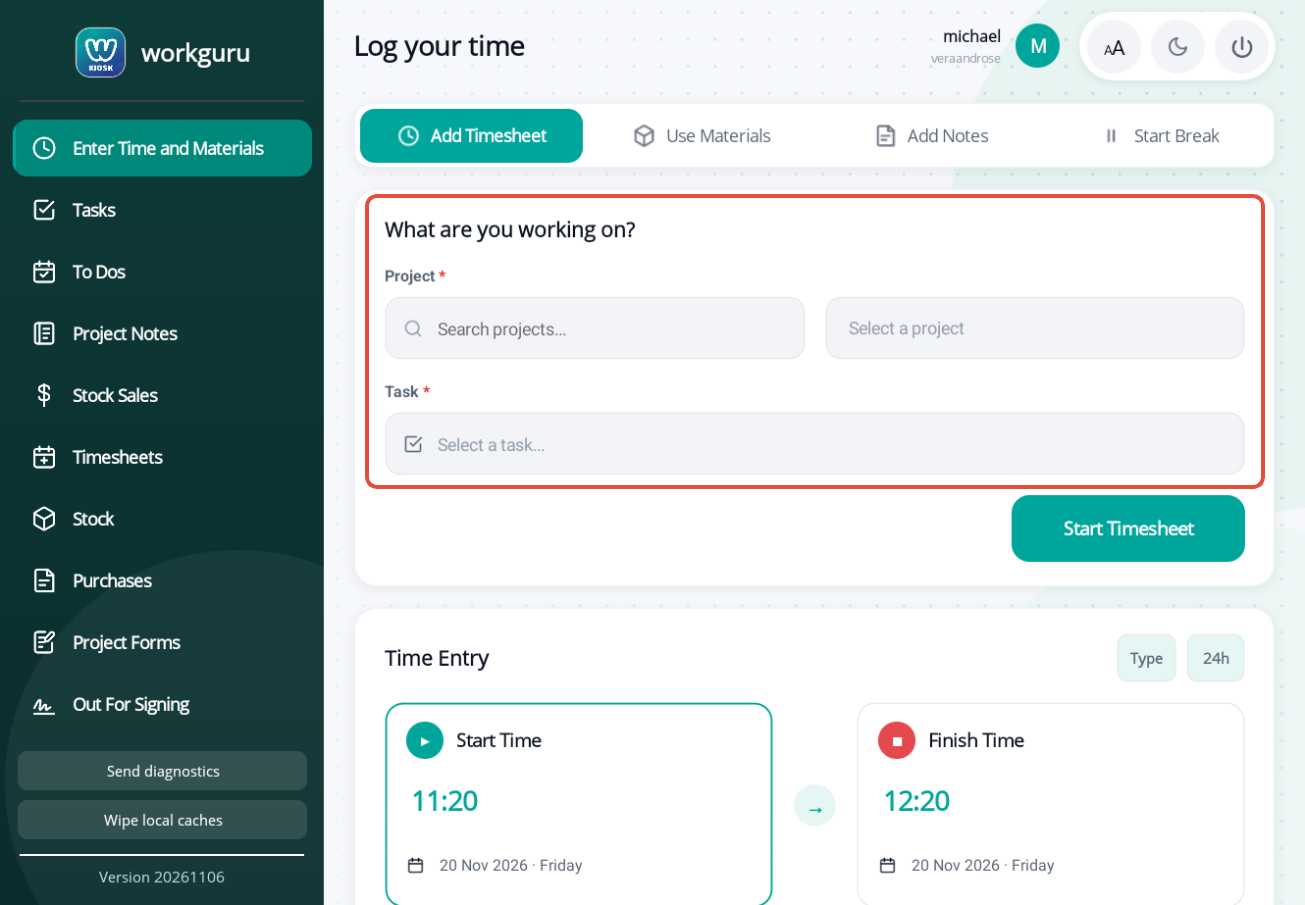
- Project - Tap Search or Select Project to choose the project. You can refine this list by searching for either the project number or name keywords before tapping Select a Project.
- Task - Select the project's task, it will also include the phase that the task is assigned to if relevant in the following format - Task name - Phase name.
Time Entry and Notes
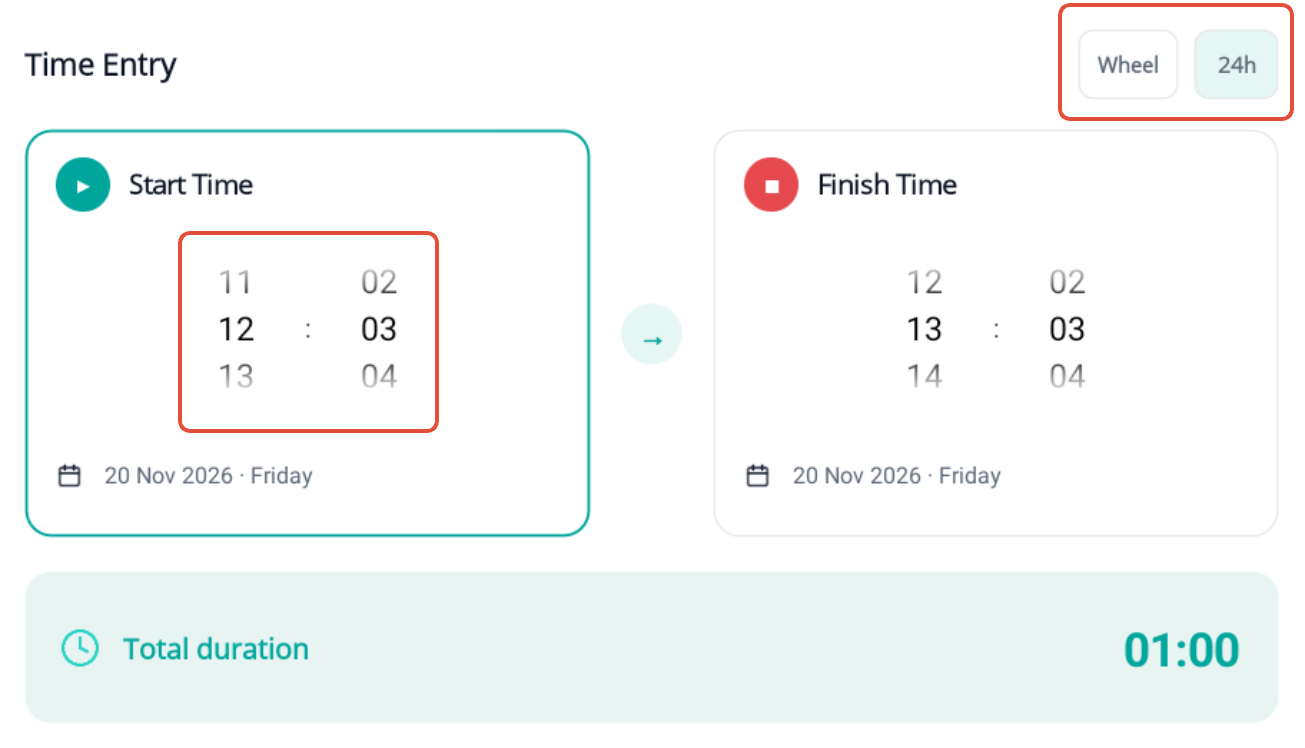
You can modify the timesheet entry style between Wheel and Type (scroll or keyboard entry) and toggle between 12h & 24h display.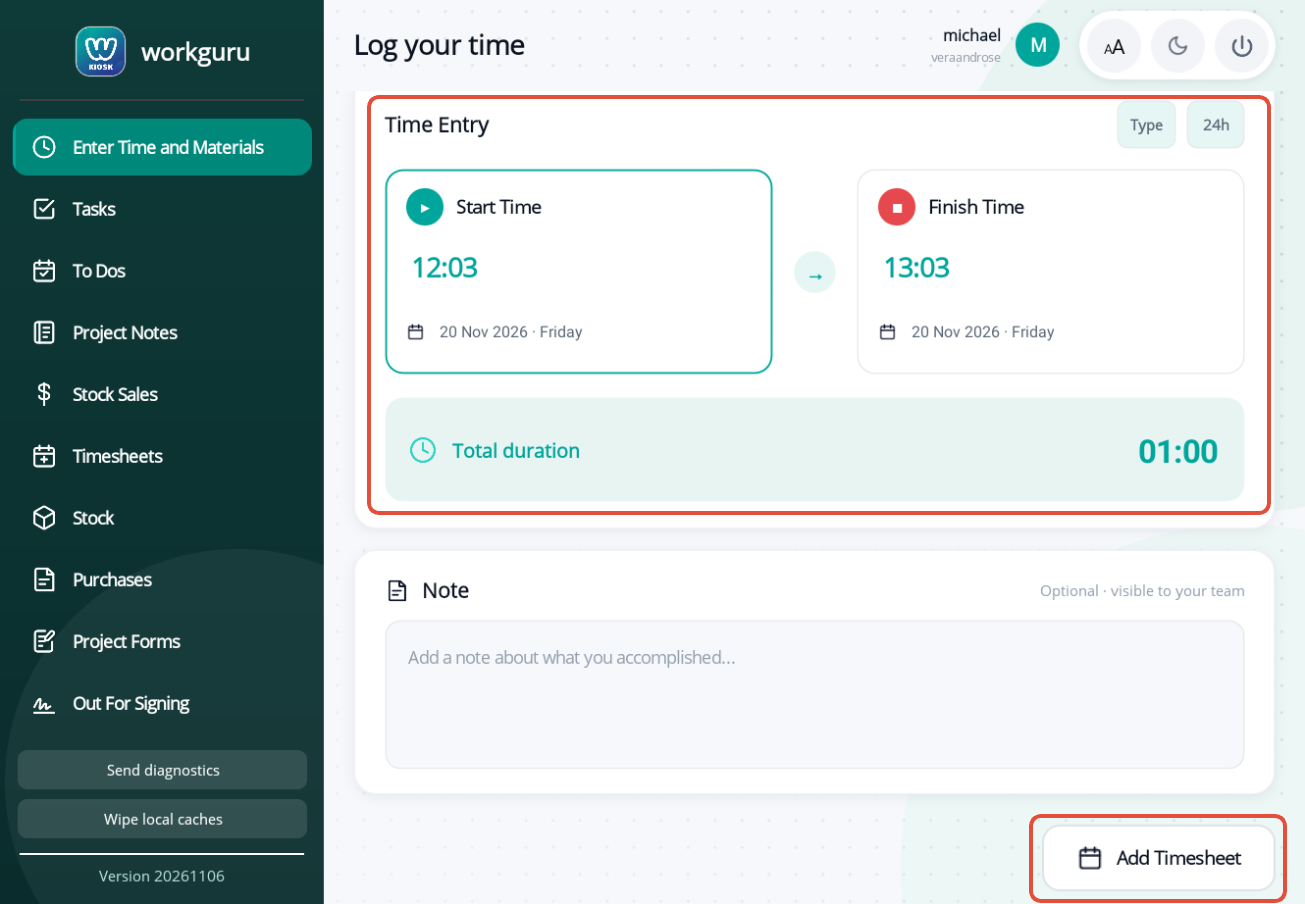
- Start Time - Timesheet start time and date.
- Finish Time - Timesheet finish time and date.
- Total Duration - Confirm timesheet totals.
- Notes (Optional - Enter summary of work performed if required.
To enter the start and finish times, tap on the time. Tap the date to change the day via the calendar pop-up.
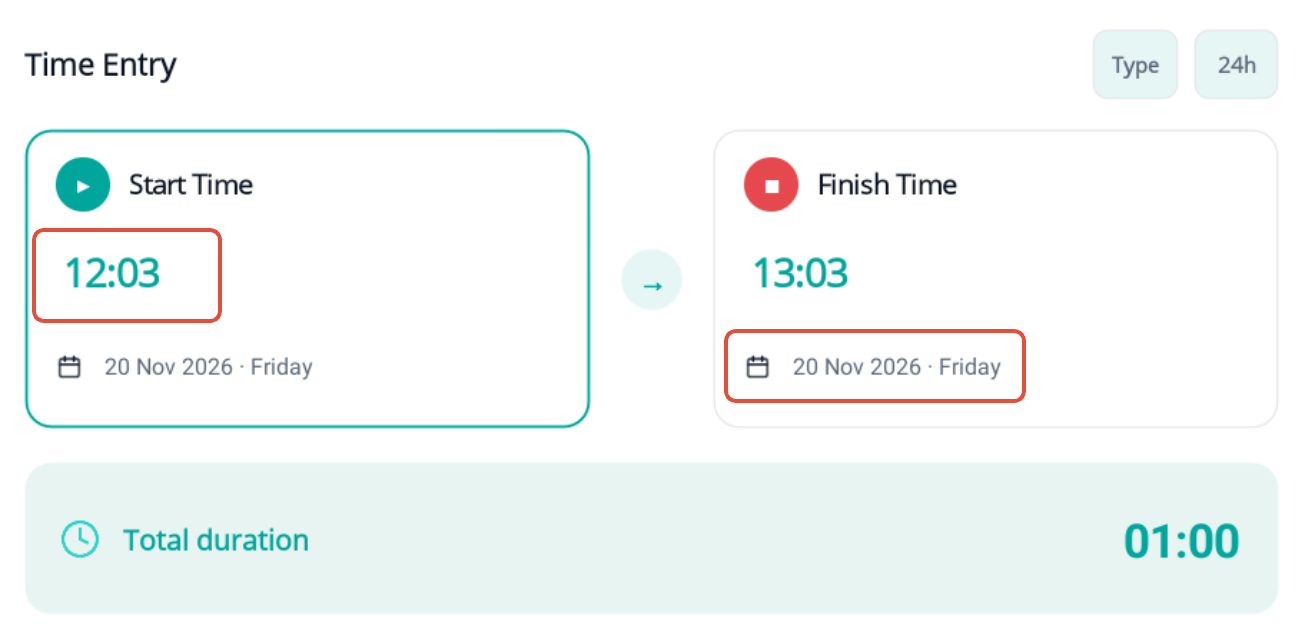
Based on your personal preference, you can use the Time Entry options to switch between typing text via a keyboard or selecting from a scroll wheel. You can also toggle 12h vs 24h time entry.
Tap Add Timesheet to submit and save the timesheet.
Was this article helpful?
That’s Great!
Thank you for your feedback
Sorry! We couldn't be helpful
Thank you for your feedback
Feedback sent
We appreciate your effort and will try to fix the article