Once you have setup your Tyro account and received your terminals, setting them up in WorkGuru is a simple 2 step process.
Add Tyro Configuration
From the Tyro dashboard (available directly at https://app.workguru.io/App/Tyro, select Add Tyro Configuration.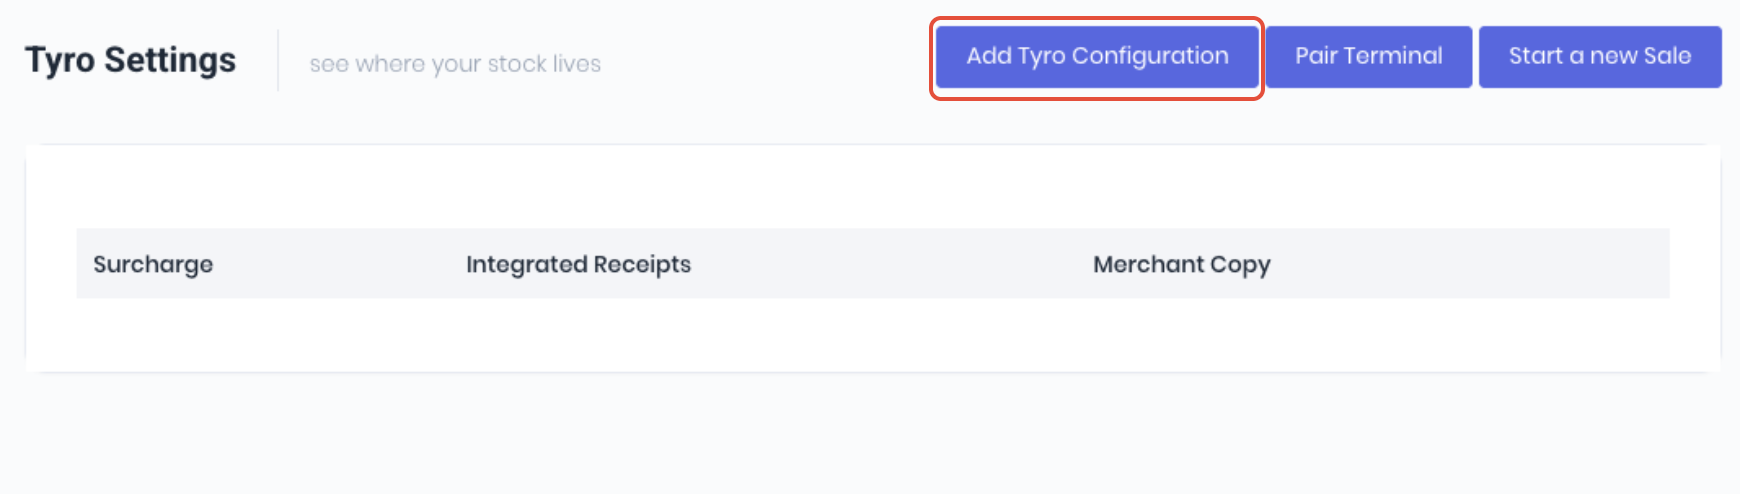 From the new configuration page, enter the following:
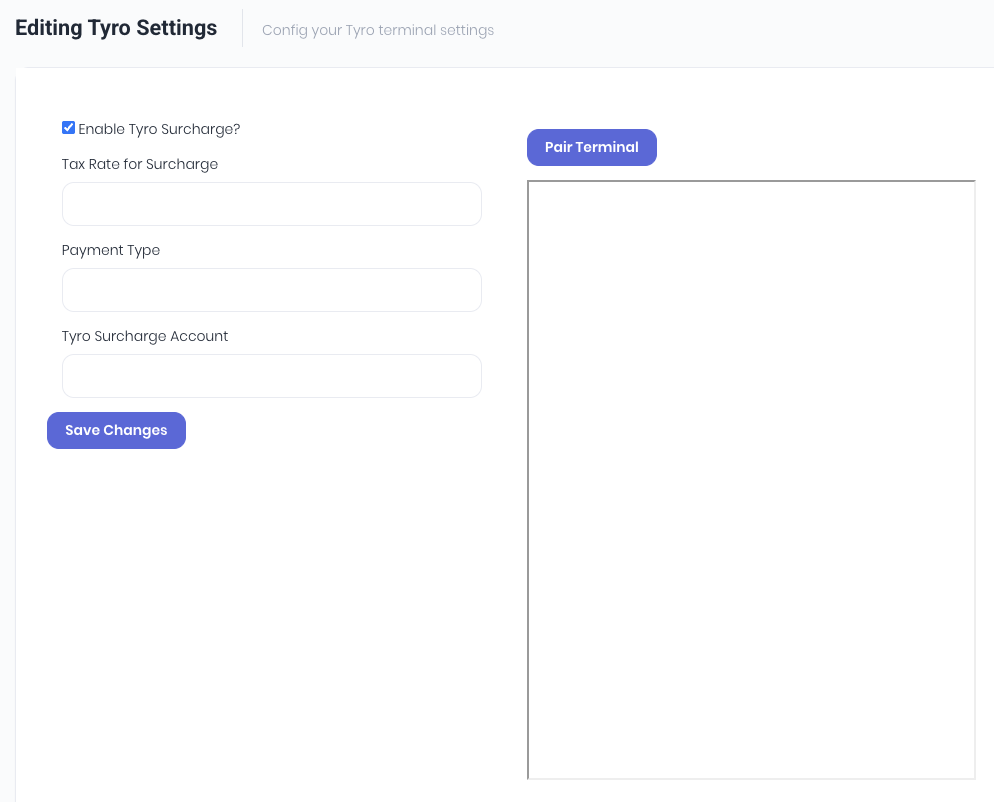
- Enable Tyro Surcharge - Select if you want to pass the Tyro surcharge onto the client as a transaction fee. Note: Due to recent legislation changes, Australian clients need to ensure this option is deselected.
- Tax Rate for Surcharge - Select required tax rate for surchages.
- Payment Type - Select the Tyro payment type - Must be Tyro.
- Tyro Surcharge Account - Select the integrated accounting general ledger (GL) account for surcharge revenue.
Pair Tyro Terminals
Once you have your Tyro hardware, you must pair the terminal hardware to WorkGuru before you can take payments. Note: Ensure you have followed Tyro's instructions to setup the terminals first, they must be connected to the internet to pair with WorkGuru.
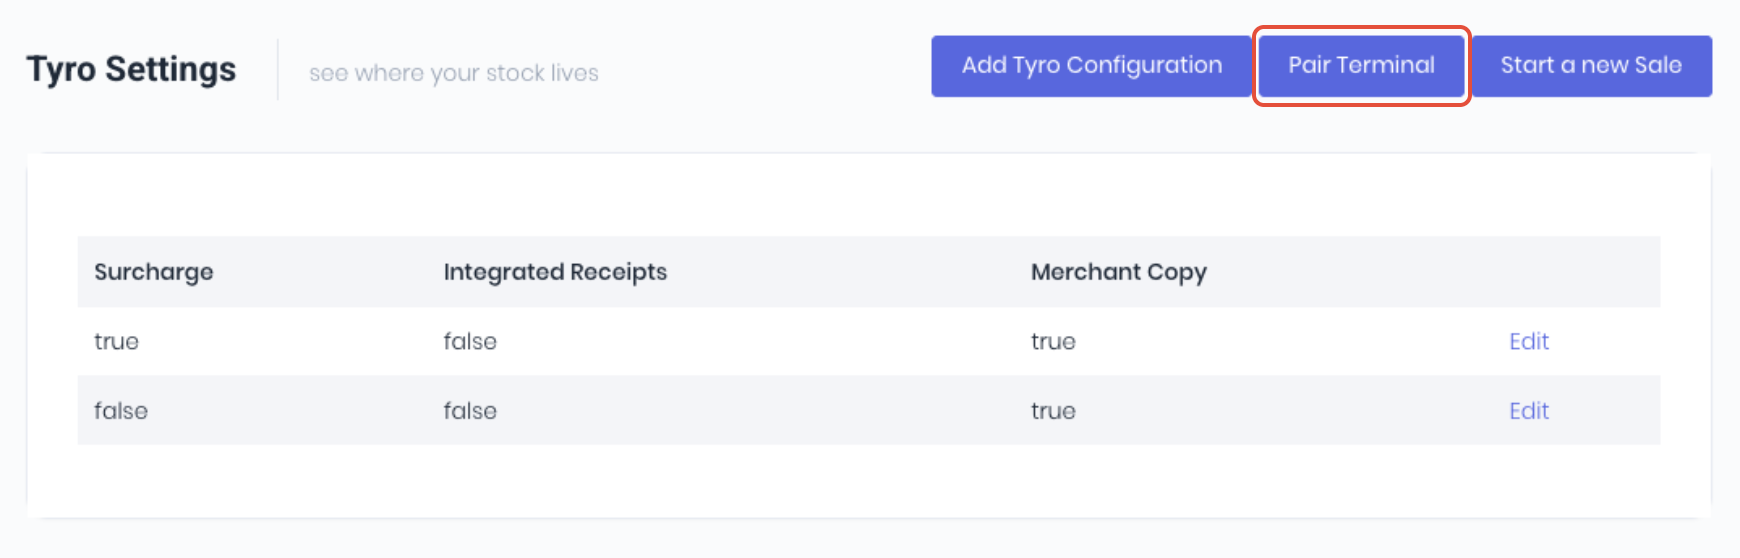
From the Tyro dashboard or the edit tyro settings page, click Pair Terminal.
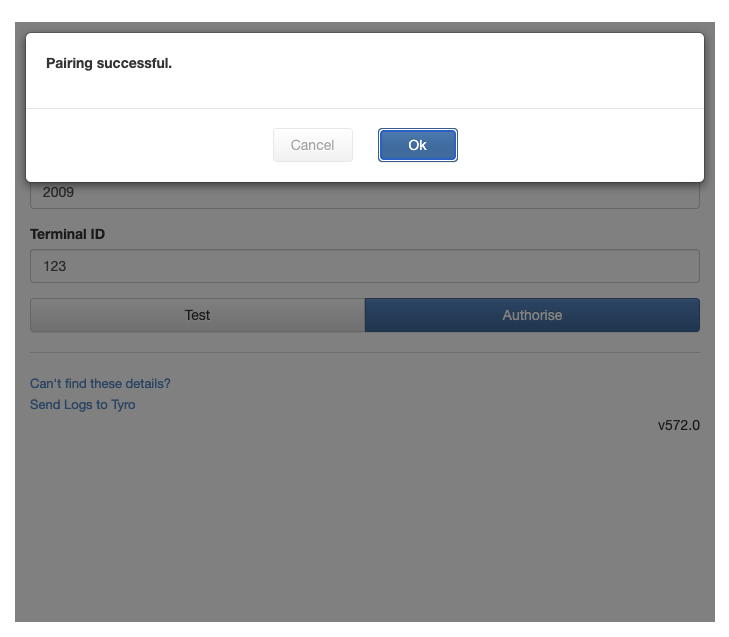
Enter your Merchant ID (MID) and Terminal ID (TID) and click Authorise.
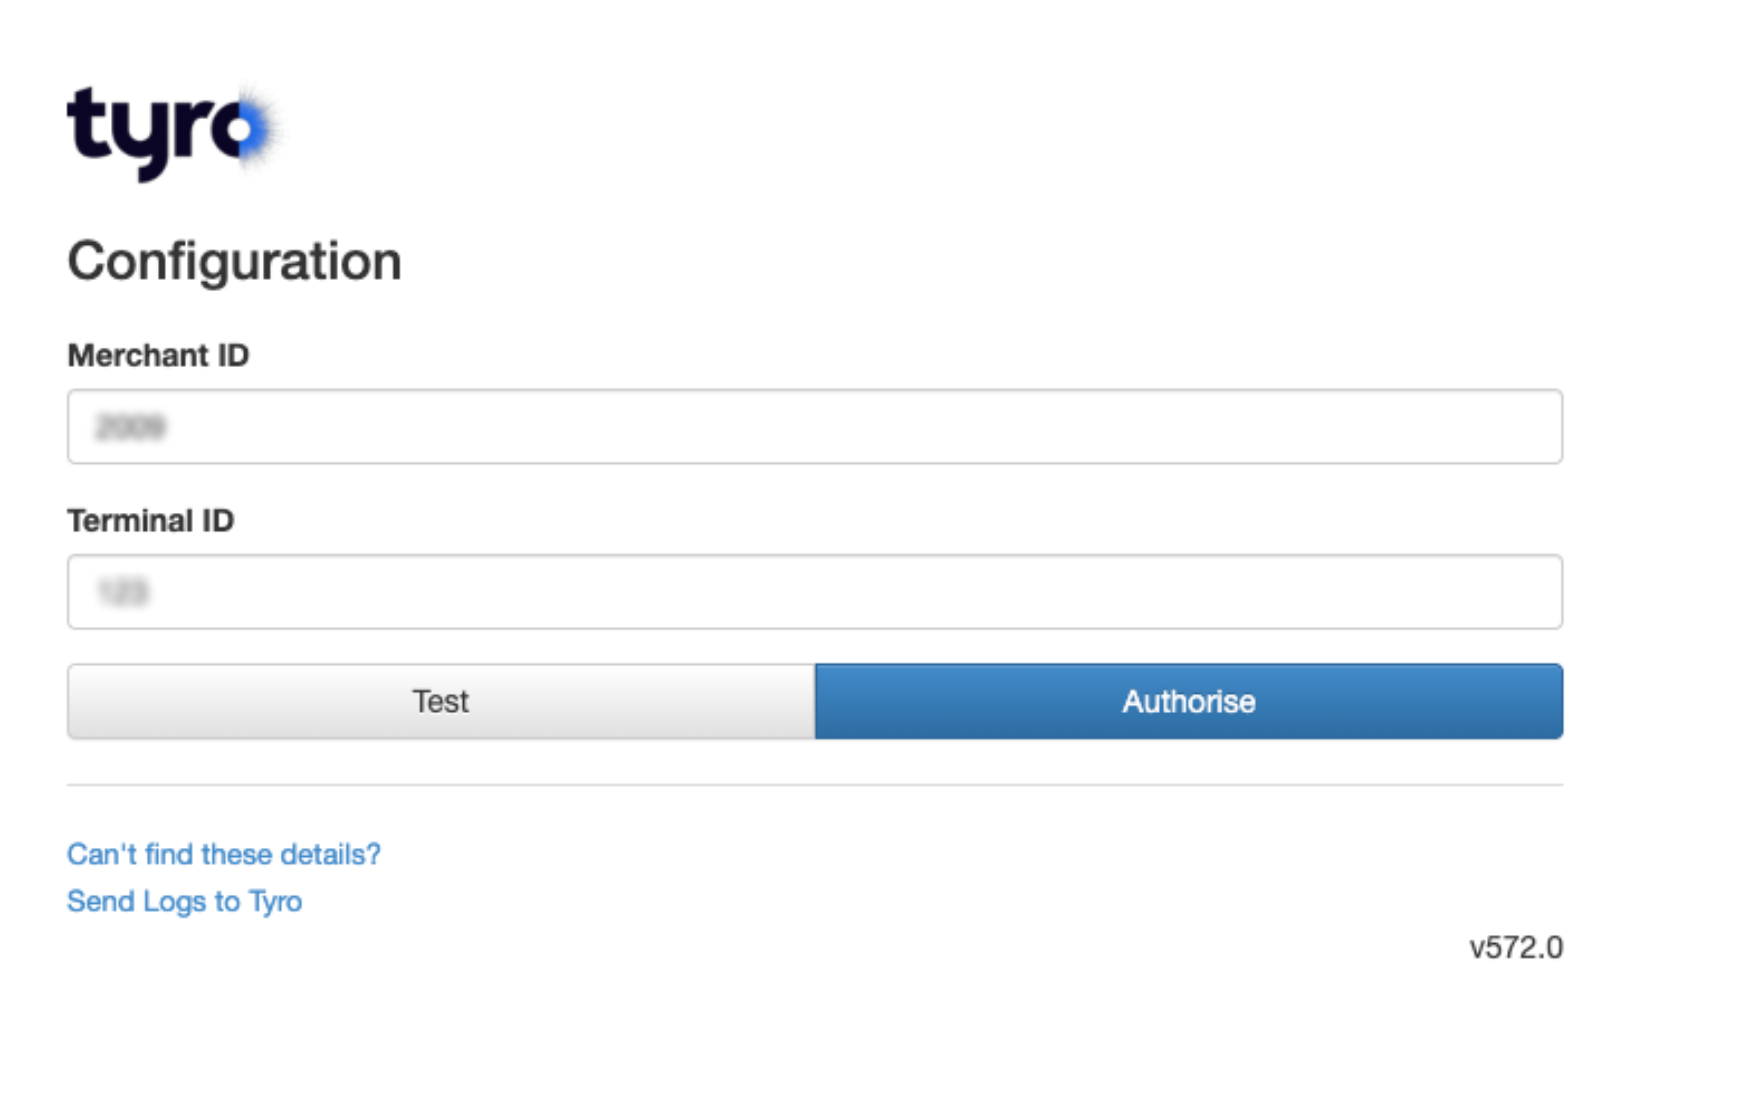
When the pairing is successful.
Note: Follow the detailed pairing instructions if you do not know your MID and TID.
Was this article helpful?
That’s Great!
Thank you for your feedback
Sorry! We couldn't be helpful
Thank you for your feedback
Feedback sent
We appreciate your effort and will try to fix the article