New purchase orders can be quickly added in the mobile app so you can purchase immediately on the go. Tap the Plus icon from the footer and tap Add Purchase Order from the quick actions menu or open the Purchase Orders dashboard in the mobile menu.

In the New Purchase Order Page, the order is broken up into three tabs to assist in creation.
1. Create
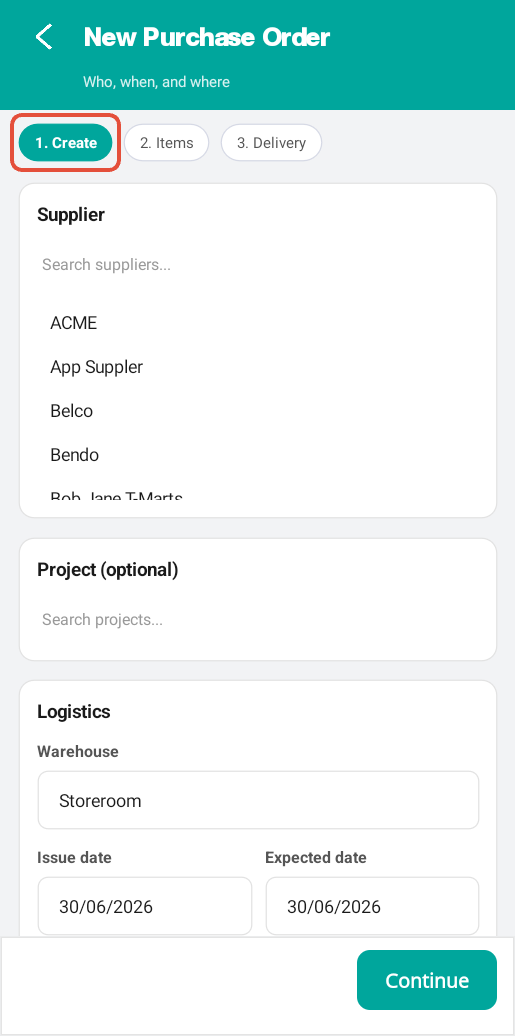
In the Create tab, update fields as required and tap Continue to apply tab changes.
- Supplier - Scroll or Search to add the order's supplier. Note: Suppliers must exist in WorkGuru, a new supplier must be added before the new purchaser order is created.
- Project - Search to select a project to create a project purchase order. Leave blank for a stock purchase order.
- Logistics
- Warehouse - Select order warehouse the line items will be received to.
- Issue Date - Defaults to current date
- Expected Date - Defaults to current date
- PO Number (optional) - Enter a custom PO reference number or leave blank for the default sequence.
- Billable - Toggle the slider if the new order is to be an invoiceable billable disbursement on the project.
2. Items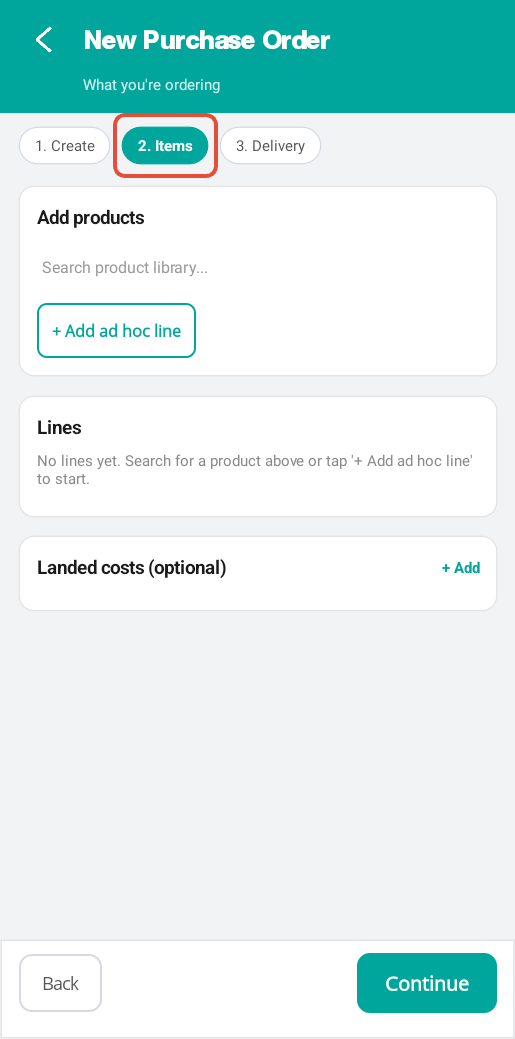
In the Items tab, update fields as required and tap Continue to apply tab changes.
- Add Products - Search product library to add products to the order. Or Add ad hoc line to add a product not in your library.
- Lines - Displays the product lines added in the Add Product section. Update product line Description, Qty and Cost if required once added or delete the line completely by tapping on the Trash icon.
- Landed Costs (Optional) - Usually added when your receive the supplier invoice, you can add expected landed costs if required. Note: Not available for project purchase orders.
Delivery

In the Delivery tab, add the fields as required.
- Description - Enter order description if required
- Delivery Address - Defaults to the delivery address of the selected warehouse. Update address fields if required or select a pre-set delivery address.
- Saved Addresses - Override the default warehouse address by selecting a pre-set delivery addresses from the dropdown.
- Address line 1
- Address line 2
- Suburb
- State
- Postcode
- Delivery Instructions - Order specific delivery information if required.
- Subtotals & Totals - Confirm order totals are correct.
You can tap Back to switch to previous tabs as required. Tap Save to save changes to the order as a draft or tap Save & Approve to save changes and update order status to Approved, ready to receive. Note: The order will need to be sent to the supplier from the WorkGuru browser interface.
Was this article helpful?
That’s Great!
Thank you for your feedback
Sorry! We couldn't be helpful
Thank you for your feedback
Feedback sent
We appreciate your effort and will try to fix the article