This article covers building a new WebForm from scratch: naming it and choosing the defaults that decide how incoming Leads are filed. Adding your own custom fields, styling and conditional logic are covered in their own articles.
Start a new form
- Open the WebForms page (from the Lead Tracker or Lead Settings — see the Overview article).
- Click Create New Form in the top-right corner.
- Fill in the form settings described below.
- Click Save.
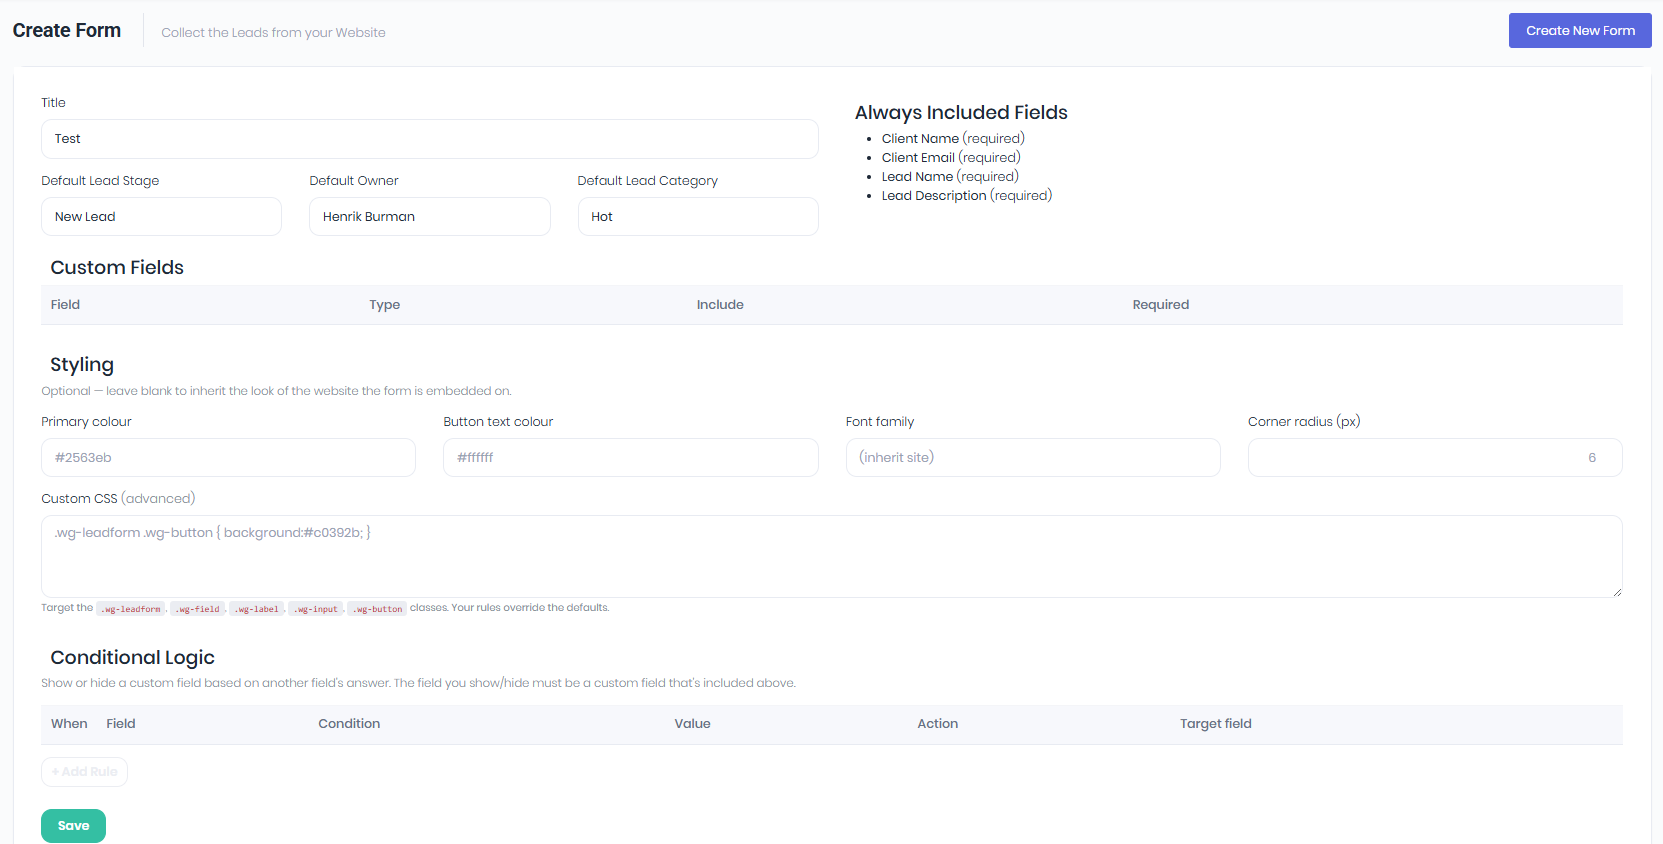
Form settings
| Setting | What it does |
|---|---|
| Title | A name for the form so you can recognise it in your list — for example “Website Enquiry” or “Get a Quote”. This is for your own reference; it doesn’t have to be shown to visitors. |
| Default Lead Stage | The Stage every Lead from this form starts in (for example “New” or “Enquiry”). Required. |
| Default Owner | The team member who will be assigned each Lead this form creates. Required. |
| Default Lead Category | The Category applied to every Lead from this form, so you can report on where your Leads came from. Required. |
The four fields every form includes
Every Lead Form automatically includes these four fields, and they are always required — you don’t need to add them and you can’t remove them:
- Your Name — becomes the Client’s name.
- Your Email — becomes the Client’s email address.
- Lead Name — a short title for the enquiry.
- Lead Description — a longer message/details box for the visitor.
These four are what WorkGuru uses to create the Client and the Lead. Anything else you’d like to collect is added as a custom field (see the next article).
Saving and coming back later
Click Save when you’re done. Your new form appears in the WebForms list, where you can see its title, its web address reference (“slug”), and how many custom fields it includes. You can come back and Edit a form at any time — changes take effect on your website automatically the next time the page is loaded, with no need to re-copy the snippet.
Was this article helpful?
That’s Great!
Thank you for your feedback
Sorry! We couldn't be helpful
Thank you for your feedback
Feedback sent
We appreciate your effort and will try to fix the article